Silicone polishing bits are versatile rotary tool attachments designed to smooth, buff, and polish various materials to a professional finish. These rubber-like bits contain silicon carbide abrasive particles that provide controlled polishing without the aggressive cutting action of traditional metal files. Whether you’re a nail technician perfecting gel manicures, a jeweler finishing metalwork, or a craft enthusiast working on detailed projects, silicone polishing bits deliver consistent, scratch-free results when used correctly.
What Are Silicone Polishing Bits?
Silicone polishing bits are flexible rotary tool attachments made from silicone rubber infused with silicon carbide abrasive particles. Unlike traditional grinding bits or metal files, these soft yet durable tools provide a gentler polishing action that smooths surfaces without causing deep scratches or excessive material removal.
The silicon carbide particles embedded throughout the bit create a consistent abrasive surface that wears evenly over time. As you use the bit, outer particles break away to reveal fresh abrasive underneath, maintaining effectiveness throughout the bit’s lifespan. According to professional tool manufacturers, silicone polishing bits typically last 3-5 times longer than traditional sanding bands while producing superior surface finishes.
Key Characteristics:
- Heat-resistant construction that doesn’t melt or deform during extended use
- Flexible design that conforms to curved and irregular surfaces
- Self-sharpening abrasive that maintains consistent cutting action
- Low dust generation compared to paper sanding bands
- Multiple grit options ranging from coarse (80-180 grit) to ultra-fine (1500+ grit)
When to Use Silicone Polishing Bits vs. Other Tools
Understanding when silicone polishing bits are the best choice—and when alternative tools work better—is crucial for achieving professional results efficiently.
Use Silicone Polishing Bits When:
Smoothing nail enhancements: Silicone polishing bits excel at refining gel, acrylic, or dip powder nails without creating heat buildup or surface damage. Professional nail technicians report that these bits reduce filing time by 40% compared to traditional hand files while producing smoother results.
Finishing jewelry and metalwork: After soldering or shaping metal, silicone bits remove oxidation, smooth solder joints, and prepare surfaces for final polishing without removing excessive material.
Buffing resin and polymer clay: The gentle action prevents surface melting while achieving a high-gloss finish on heat-sensitive materials.
Detail work on ceramics and glass: Fine-grit silicone bits safely smooth rough edges and polish decorative glass without chipping.
Polishing wood and composite materials: For intricate woodworking details where sandpaper can’t reach, silicone bits provide controlled smoothing.
Choose Alternative Tools When:
Heavy material removal is needed: Carbide bits or diamond burrs remove material faster for initial shaping work. Silicone bits are finishing tools, not shaping tools.
Working with very hard materials: Diamond-coated bits work better on stone, hardened steel, or extremely dense materials where silicon carbide can’t cut effectively.
Achieving mirror-polish finishes: After silicone bit polishing, use dedicated buffing compounds and cloth wheels for the highest gloss levels.
One-time or infrequent use: Disposable sanding bands may be more economical for occasional projects, though silicone bits offer better value for regular use.
Types of Silicone Polishing Bits and Their Uses
Silicone polishing bits come in various shapes, sizes, and grit levels. Selecting the right combination ensures optimal results for your specific application.
| Shape | Best Uses | Ideal For | Common Sizes |
|---|---|---|---|
| Cylinder/Barrel | Smoothing flat surfaces, filing nail sidewalls | Nail enhancements, flat jewelry pieces | 5mm-10mm diameter |
| Tapered/Cone | Detail work, getting into corners and curves | Cuticle area refinement, intricate metalwork | 3mm-8mm diameter |
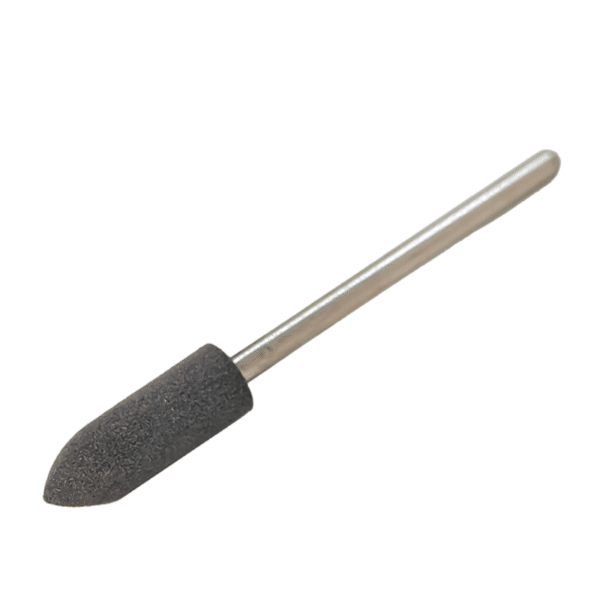
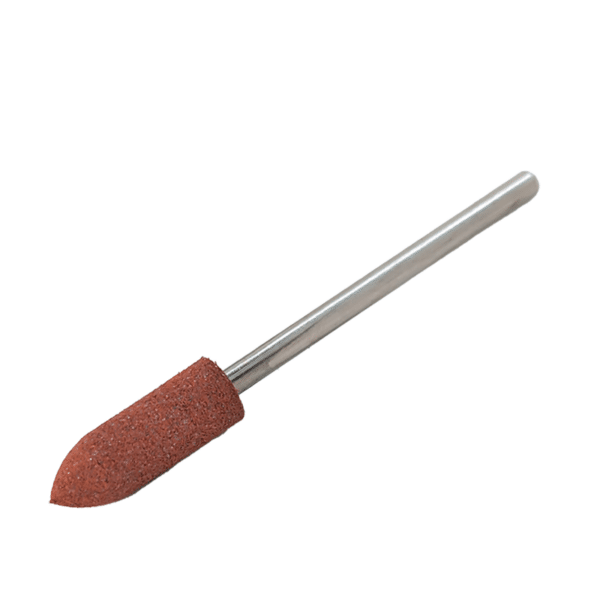
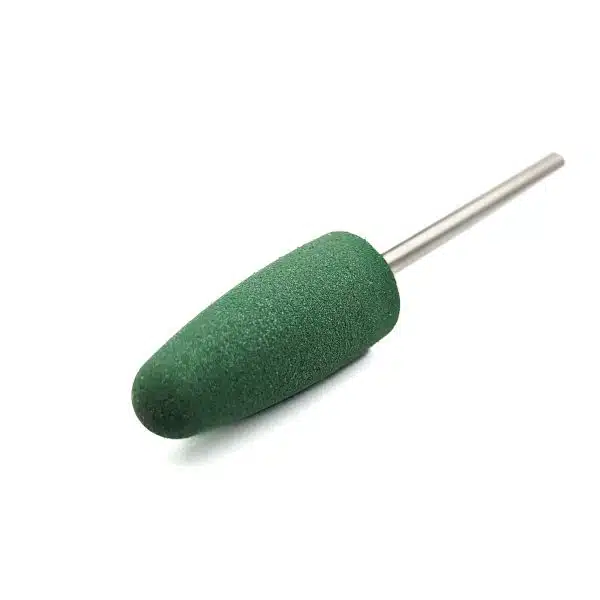
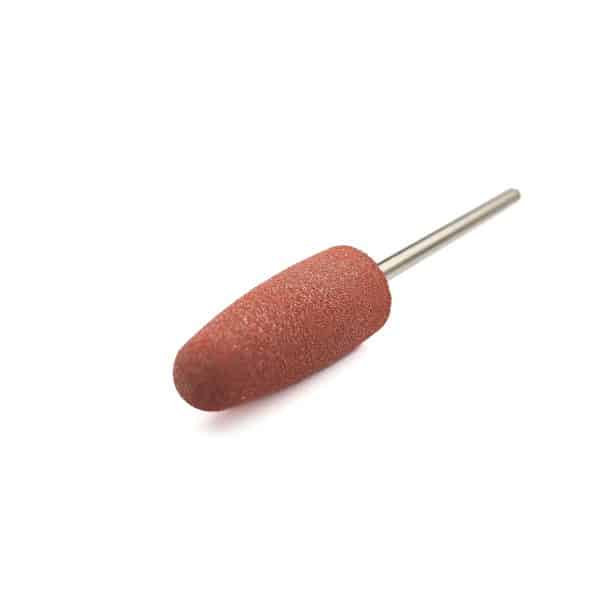
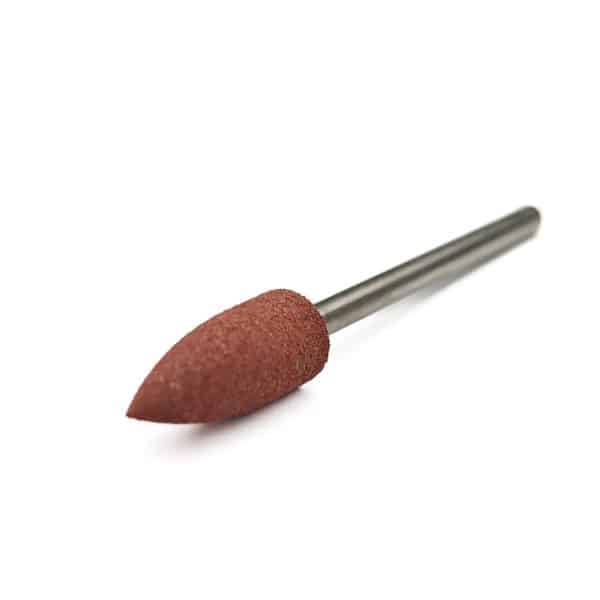
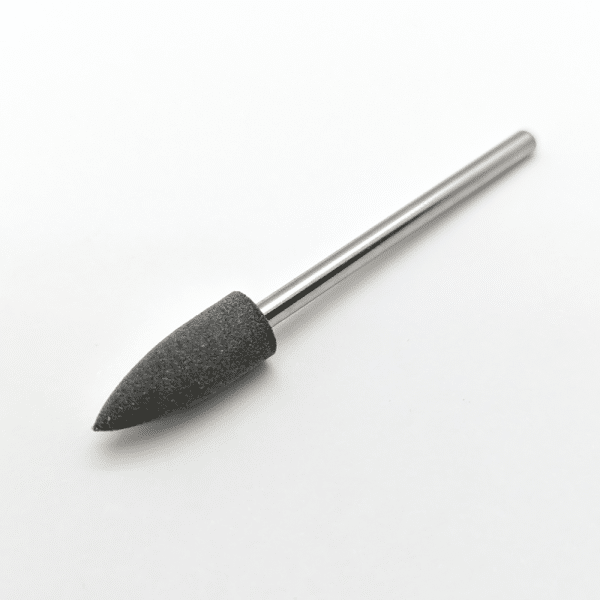
| Bullet/Flame | Contouring curved surfaces, C-curve refinement | Nail shaping, rounded jewelry components | 6mm-12mm length |
| Wheel/Disc | Polishing large flat areas, smoothing edges | Ring bands, flat metal surfaces, wood edges | 10mm-20mm diameter |
| Pointed/Needle | Fine detail work, small crevices | Engraving cleanup, tiny detail polishing | 2mm-4mm diameter |
| Cup/Inverted Cone | Polishing inside curves and concave surfaces | Ring interiors, hollow forms | 8mm-15mm diameter |
Material-Specific Recommendations:
For nail care applications: Start with medium-grit (180-240) barrel or bullet shapes for surface smoothing, then progress to fine-grit (400-600) for high shine. Professional nail technicians typically keep three grits on hand for complete nail finishing.
For jewelry making: Tapered and wheel shapes in fine to extra-fine grits (400-1500) work best for finishing precious metals without removing gold or silver plating.
For general crafts and DIY projects: A versatile starter set should include barrel, cone, and wheel shapes in medium (240) and fine (400) grits to handle 80% of polishing tasks.
How to Use Silicone Polishing Bits: Step-by-Step Guide
Follow these proven techniques to achieve professional polishing results while maximizing bit life and ensuring safety.
Step 1: Select the Appropriate Bit and Grit
Match the bit shape to your surface contour and choose a grit level based on your starting surface condition:
- Coarse (80-180 grit): Removing minor imperfections and smoothing rough surfaces
- Medium (240-400 grit): General smoothing and preparing for final polish
- Fine (600-1000 grit): Creating smooth, matte finishes
- Extra-Fine (1200-1500+ grit): Achieving high-gloss, near-mirror finishes
Pro tip: When in doubt, start with a finer grit than you think you need. You can always switch to coarser grit if needed, but you can’t undo damage from starting too aggressively.
Step 2: Secure the Bit Properly
Insert the bit’s shank fully into your rotary tool’s collet or chuck, ensuring at least 3/4 inch of shank engagement. Tighten securely—a loose bit will vibrate excessively, produce poor results, and potentially cause injury.
Test the bit by running the tool at low speed without contacting any surface. Listen for vibration or wobbling that indicates improper installation.
Step 3: Set the Correct Speed
Speed recommendations by application:
- Nail work: 8,000-15,000 RPM for controlled smoothing without heat buildup
- Jewelry (soft metals): 10,000-18,000 RPM for gold, silver, copper
- Jewelry (harder metals): 15,000-25,000 RPM for stainless steel, titanium
- Resin and plastics: 8,000-12,000 RPM to prevent melting
- Wood and composites: 12,000-20,000 RPM for effective smoothing
According to tool manufacturer guidelines, running silicone bits at excessive speeds (over 30,000 RPM) causes premature wear and can generate enough heat to damage heat-sensitive materials.
Step 4: Apply Light, Consistent Pressure
This is the most critical technique factor. Silicone polishing bits work through gentle, repeated contact—not heavy pressure.
- Use only enough pressure to maintain bit contact with the surface
- Let the bit’s abrasive do the work; forcing creates heat and uneven wear
- Keep the bit moving continuously; stationary contact creates divots and burns
- Work in overlapping passes for uniform results
The correct pressure feels similar to writing with a pencil on paper—firm enough to make contact but not pressing hard.
Step 5: Use Proper Motion and Technique
For flat surfaces: Move the bit in smooth, overlapping strokes across the surface, maintaining consistent contact angle (typically 10-15 degrees from parallel).
For curved surfaces: Follow the contour with gentle, flowing motions, rotating the workpiece or tool position to maintain optimal contact.
For edges and corners: Use tapered or pointed bits at reduced speed, working from the flat surface toward the edge to prevent catching or chipping.
For nail enhancements: Work in one direction from cuticle to free edge using light, feathering strokes. Avoid back-and-forth motions that create heat and stress lines.
Step 6: Progress Through Grits When Necessary
For optimal results on rough surfaces, work progressively through grits:
- Start with the coarsest grit that removes imperfections without excessive material loss
- Progress to the next finer grit (roughly doubling the grit number each step)
- Continue until you achieve the desired finish level
- Each grit should remove the scratches left by the previous grit
Professional jewelers typically use 3-4 grit progressions (e.g., 240 → 400 → 800 → 1500) for mirror-finish results.
Step 7: Clean the Surface
Remove polishing dust between grits and after final polishing. For most applications, a soft brush or compressed air works well. For nail work, use a clean, lint-free wipe with isopropyl alcohol.
Choosing the Right Grit for Your Project
Selecting the appropriate grit level determines both the efficiency of your work and the quality of your final finish.
Grit Selection Guide:
Coarse Grit (80-180):
- Use for: Smoothing significant surface irregularities, removing bulk material quickly, initial shaping
- Applications: Smoothing rough nail enhancements, removing oxidation from metals, initial wood smoothing
- Results: Visible scratch pattern, matte finish
- Follow-up: Always use finer grits afterward for acceptable finish
Medium Grit (240-400):
- Use for: General smoothing, removing minor imperfections, preparing for final polish
- Applications: Refining nail surfaces before gel application, smoothing solder joints, general craft finishing
- Results: Subtle texture, semi-matte finish
- Most versatile option for users who purchase only one grit level
Fine Grit (600-1000):
- Use for: Creating smooth finished surfaces, removing fine scratches, preparing for high polish
- Applications: Pre-polish nail buffing, preparing jewelry for final polish, finishing resin pieces
- Results: Smooth surface with subtle sheen
Extra-Fine Grit (1200-1500+):
- Use for: High-gloss finishing, final buffing, achieving near-mirror shine
- Applications: Final nail buffing before topcoat, jewelry finishing, achieving maximum smoothness
- Results: High-gloss, reflective surface
Material-Specific Grit Recommendations:
Gel and acrylic nails: 180 grit for shaping → 240 grit for smoothing → 400 grit for final buff
Precious metal jewelry: 400 grit for general smoothing → 800-1000 grit for pre-polish → 1500 grit for final shine
Resin and polymer clay: 400 grit for smoothing → 600-800 grit for finishing (extra-fine grits can achieve glass-like finish)
Wood and composite materials: 240 grit for smoothing → 400 grit for finishing
Common Mistakes to Avoid
Even experienced users make these errors that compromise results and shorten bit life. Avoid these pitfalls for better outcomes:
Mistake #1: Using Excessive Pressure
Why it’s problematic: Heavy pressure generates excessive heat, causes premature bit wear, creates uneven surfaces, and can damage heat-sensitive materials like acrylic nails or resin.
Solution: Use only enough pressure to maintain surface contact. If you’re not seeing results, increase speed or switch to a coarser grit rather than pressing harder.
Mistake #2: Running at Incorrect Speeds
Why it’s problematic: Speeds that are too low reduce effectiveness and cause bit loading (abrasive particles clog with material). Speeds that are too high create excessive heat and cause rapid bit deterioration.
Solution: Follow the speed recommendations for your specific material. When working with unfamiliar materials, start at lower speeds and gradually increase until you find the effective range.
Mistake #3: Holding the Bit Stationary
Why it’s problematic: Stationary contact creates grooves, divots, and burn marks. On nails, it can cause painful heat buildup and damage the nail plate.
Solution: Keep the bit moving continuously across the surface in smooth, overlapping motions. Never let the bit sit in one spot for more than a fraction of a second.
Mistake #4: Skipping Grit Progressions
Why it’s problematic: Jumping from coarse grit directly to extra-fine grit leaves deep scratches that finer grits can’t remove efficiently. This increases working time and compromises final finish quality.
Solution: When starting with surfaces that have significant imperfections, work through at least 3-4 grit levels, roughly doubling the grit number at each step.
Mistake #5: Using Worn-Out Bits Too Long
Why it’s problematic: Worn bits lose cutting efficiency, requiring increased pressure that generates heat and produces poor results. Continued use can damage workpieces and the rotary tool.
Solution: Replace bits when you notice decreased effectiveness, excessive heat generation, or visible wear (smooth, shiny appearance where abrasive has worn away). Professional nail technicians typically replace bits after 30-50 full nail services.
Mistake #6: Incorrect Bit Angle
Why it’s problematic: Approaching the surface at too steep an angle concentrates pressure on a small point, creating gouges and uneven wear. Too shallow an angle reduces effectiveness.
Solution: Maintain a 10-15 degree working angle for most applications. The bit should contact the surface across its working face, not just at one edge.
Mistake #7: Neglecting Safety Equipment
Why it’s problematic: Even though silicone bits generate less dust than other abrasives, fine particles still become airborne and can irritate eyes and respiratory systems.
Solution: Always wear safety glasses and consider using a dust mask for extended polishing sessions. Ensure adequate ventilation in your workspace.
Safety Tips and Best Practices
Following proper safety protocols protects you from injury and ensures optimal tool performance.
Essential Safety Practices:
Wear appropriate personal protective equipment:
- Safety glasses or face shield: Protects eyes from flying particles and debris
- Dust mask or respirator: Prevents inhalation of fine polishing dust, especially important when working with metals or resins
- Work gloves (when appropriate): Provides grip and protects hands, though may reduce control for detailed work
Secure your workpiece properly:
- Use clamps, vises, or appropriate fixtures to hold items steady
- Never hold small pieces in your hand while polishing—they can catch and spin, causing injury
- For nail work, ensure stable hand positioning with proper support
Maintain proper tool grip and control:
- Hold the rotary tool firmly but not tensely
- Support your working hand with your free hand or against a stable surface
- Take breaks during extended sessions to prevent hand fatigue that compromises control
Inspect bits before each use:
- Check for cracks, chips, or excessive wear
- Ensure the shank isn’t bent or damaged
- Discard any bits showing significant damage—they can break during use
Work in a well-ventilated area:
- Polishing generates fine dust particles that can accumulate in enclosed spaces
- Use local exhaust ventilation or work near open windows when possible
- Consider using a small fan to direct dust away from your breathing zone
Be aware of heat buildup:
- Touch the workpiece periodically to check temperature
- If it feels uncomfortably hot to touch, reduce speed or pressure and allow cooling time
- For nail work, communicate with clients about any heat sensation and pause if discomfort occurs
Keep long hair and loose clothing secured:
- Tie back long hair and avoid loose sleeves that could catch in the rotating tool
- Remove jewelry that might interfere with work or catch on the bit
Never exceed the manufacturer’s recommended RPM:
- Check bit packaging for maximum safe speed ratings
- Exceeding rated speeds can cause bit failure and create projectile hazards
Maintenance and Care for Longevity
Proper maintenance extends bit life and maintains consistent performance throughout the bit’s usable lifetime.
Cleaning Your Silicone Polishing Bits:
After each use:
- Run the bit at moderate speed and touch it lightly against a rubber cleaning block or pencil eraser
- The friction removes embedded material particles and restores the abrasive surface
- For nail work, use a specialized bit cleaning solution or isopropyl alcohol with a soft brush
- Allow bits to dry completely before storage
Deep cleaning (weekly for frequent use):
- Soak bits in warm, soapy water for 10-15 minutes
- Scrub gently with a soft brush to remove embedded particles
- Rinse thoroughly and allow to air dry completely
- For sterilization in professional settings, follow your local health regulations (many silicone bits can withstand autoclave sterilization)
Storage Best Practices:
Store bits properly to prevent damage:
- Keep bits in a dedicated case or organizer with individual compartments
- Avoid jumbling bits together where they can impact and chip each other
- Store in a cool, dry location away from direct sunlight
- Label or organize by grit level for easy selection
Organize by application:
- Keep separate sets for different materials (e.g., nail bits separate from metalworking bits)
- This prevents cross-contamination and maintains hygiene standards in professional settings
- Color-coded storage systems help quickly identify grit levels and applications
Extending Bit Life:
Practices that maximize longevity:
- Use the lightest effective pressure
- Run at appropriate speeds for the material
- Keep bits clean to prevent loading
- Rotate between multiple bits during extended sessions to allow cooling
- Replace bits when effectiveness decreases rather than compensating with excessive pressure
According to professional tool experts, properly maintained silicone polishing bits last 5-10 times longer than disposable sanding bands while providing more consistent results throughout their lifespan. For professional nail technicians performing 20+ services weekly, quality silicone bits typically provide 8-12 weeks of effective use before replacement is needed.