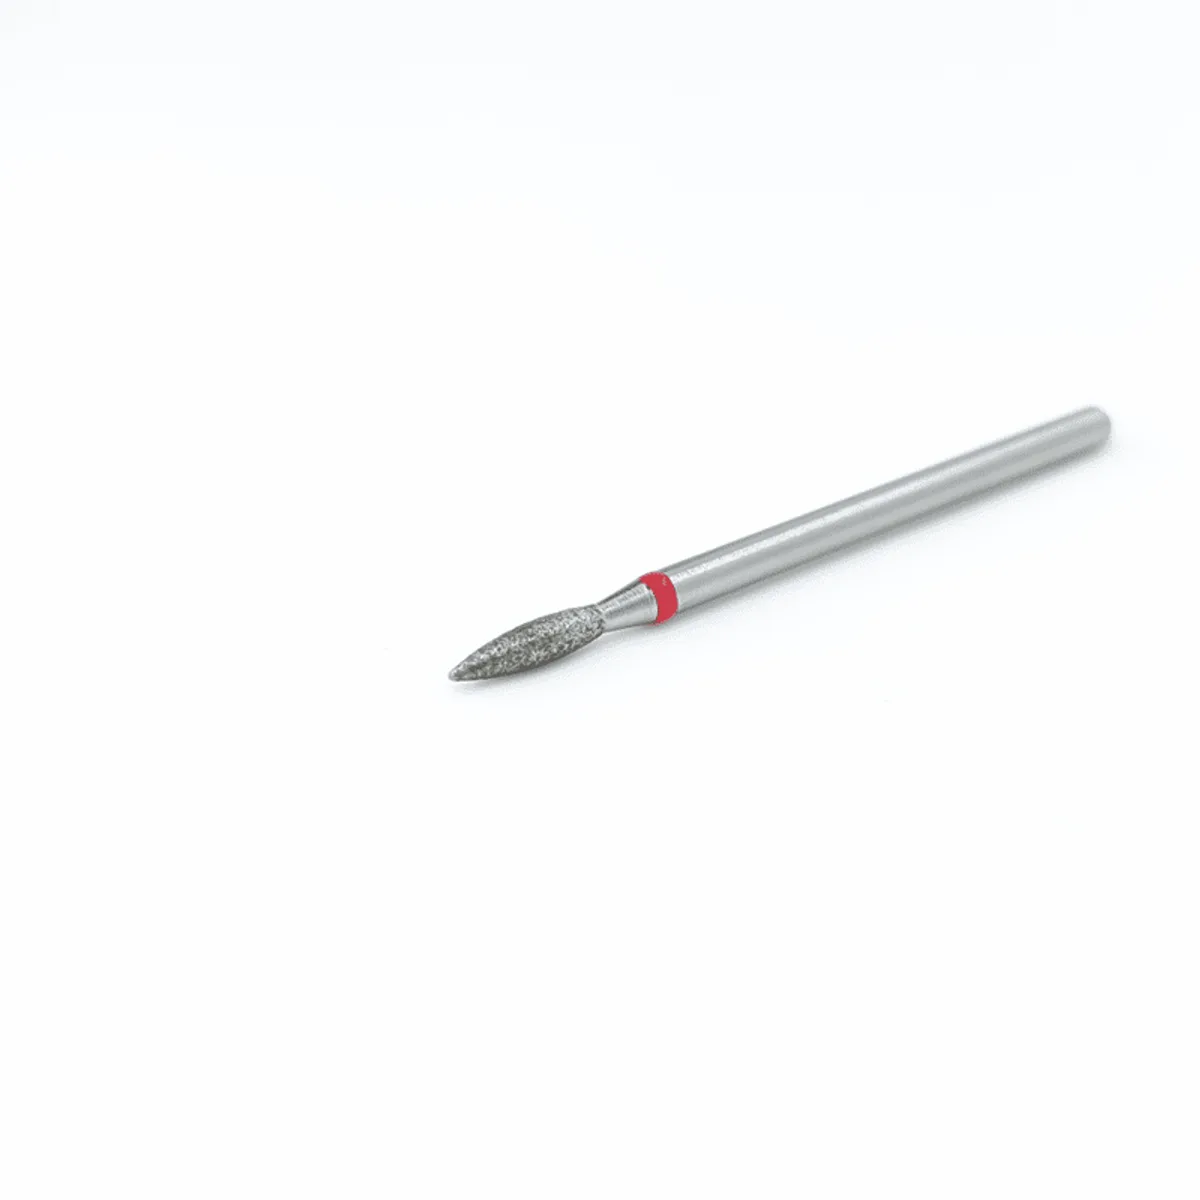
If you are new to using an electric file, one of the first questions is simple: what are e-file bits actually used for? They all look like small attachments that fit into a nail drill, but each shape and material is made for a different part of the job.
This guide explains e-file bits in plain language, what the main types do, and how they fit into a normal manicure or pedicure routine.
What is an e-file bit?
An e-file bit is the removable tip that fits into an electric nail file (often just called an e-file or nail drill). The bit is the part that actually touches the nail, and the drill simply spins it.
Because the bit is what does the work, choosing the right one matters more than the drill itself. Different bits are shaped and coated for different tasks, from removing hard product to gently refining the cuticle area.
What are e-file bits used for?
Broadly, e-file bits are used for the steps around shaping, removal, prep, and finishing. In practice that usually means:
- removing gel polish, hard gel, polygel, or acrylic
- shaping and reducing the length of nail extensions
- preparing the cuticle area and sidewalls
- smoothing and refining the surface or finish
No single bit does all of these well, which is why most nail techs build a small set of bits rather than relying on one.
What are the main types of e-file bits?
The easiest way to understand e-file bits is by what they are made from, because the material tells you the main job.
Carbide bits
Carbide bits are mainly used for removal. They are efficient at taking down gel polish, hard gel, polygel, and acrylic, and at reducing the length and bulk of extensions.
Examples from our range include the Carbide E File Nail Drill Bit and other shapes in the carbide bit range.
Diamond bits
Diamond bits are more often used for prep and detail work, such as around the cuticle area and sidewalls. Shape matters a lot here: a flame bit is commonly used to lift and refine, while a ball bit is often used to finish.
See examples like the Flame E File Nail Drill Bit and the Ball E File Nail Drill Bit Size 3.1mm. If you want to understand the difference between those two, our guide on Flame Bit vs Ball Bit goes deeper.
Polishing and silicone bits
Polishing bits are used for smoothing and refining at the end of a service, to tidy the surface and soften the finish.
Examples include the Silicone Polishing E File Drill Bit.
How do shape and grit change what a bit is used for?
Even within one material, shape and grit change the job:
- Shape decides where the bit fits and how it contacts the nail. Pointed shapes like flame and cone reach tighter areas, while ball and barrel shapes suit broader contact.
- Grit decides how aggressive the bit feels. Coarser grit removes faster, finer grit is gentler for prep and finishing.
So a bit is really defined by three things together: material, shape, and grit.
How do you start using e-file bits?
If you are completely new to this, the key idea is that the bit does the work, not pressure. E-file bits are designed to be used with light, controlled contact rather than pushing hard.
We cover this in more detail in our beginner guide on how to use e-file bits, including speed, pressure, and bit direction.
How do you choose the right e-file bit?
Choose based on the job, not the look:
- removal of product → carbide
- cuticle prep and detail → diamond (flame, ball, cone, rounded cone)
- finishing and smoothing → polishing or silicone
If you want help matching a bit to a specific task, see our guide on which e-file bit to use for gel polish, hard gel, and natural nails.
If you would rather start with a ready-made selection, a set such as the Most Essential 20 E-File Nail Drill Bits Set covers the common shapes in one place.
Final thoughts
E-file bits are not one tool, they are a small toolkit. Carbide bits remove, diamond bits prep and detail, and polishing bits finish. Once you think about bits by their job rather than their appearance, choosing the right one becomes much easier.
If you are building your first set, start with one removal bit, one or two prep bits, and a polishing bit, then add shapes and sizes as your technique develops.